Hardwood Floor Installation
At OHANA WOOD FLOORING, we take pride in our ability to enhance the elegance and value of your home with our hardwood flooring solutions. Our team comprises skilled craftsmen with years of expertise and industry knowledge who work tirelessly to provide you with high-quality work and exceptional customer satisfaction. We understand the importance of evaluating site requirements and delivering custom solutions for each project. We offer a range of options that come with distinctive advantages, tailored to meet your specific needs and preferences. We guarantee unwavering commitment to excellence throughout every project we undertake. If you’re looking to upgrade your home’s flooring, contact us today to learn more about our services and how we can help you achieve your vision.
Hardwood Floor Installation
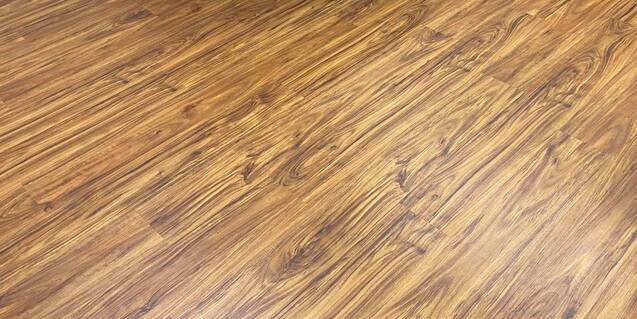
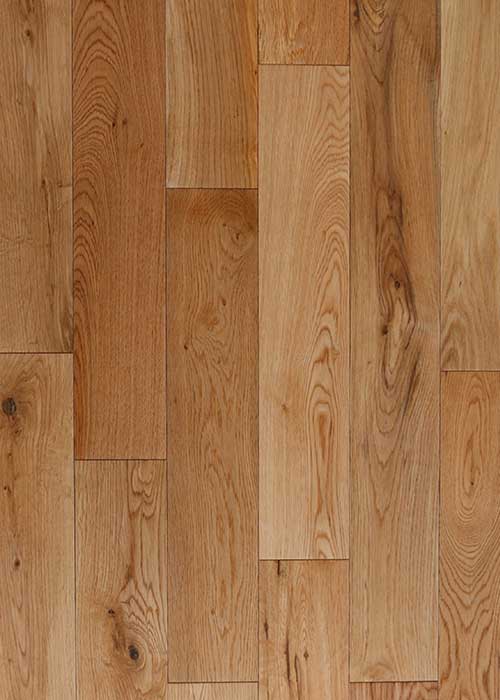
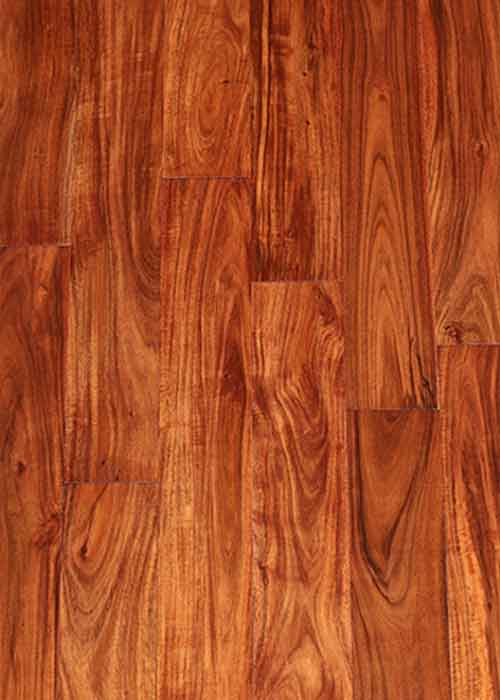
Solid hardwood flooring is a quintessential flooring choice sought by homeowners across generations, appreciated for its timeless appeal. Its natural grace fits snugly in various rooms of your household. Not only does this tough and visually appealing material enhance your space’s aesthetics, but it also adds exceptional long-term value to your abode. One notable attribute of solid hardwood is its renewability, which allows you to restore or refresh your flooring for an extended life span.
Our solid hardwood flooring typically comes in ¾” hardwood, making it seamless to install over the plywood subflooring found in most homes. The hardwood is typically affixed to the subfloor using nails or adhesive. We proudly present both finished and unfinished hardwood flooring alternatives, giving you the opportunity to create a personalized look that matches your home’s aesthetic.
Engineered Hardwood Flooring
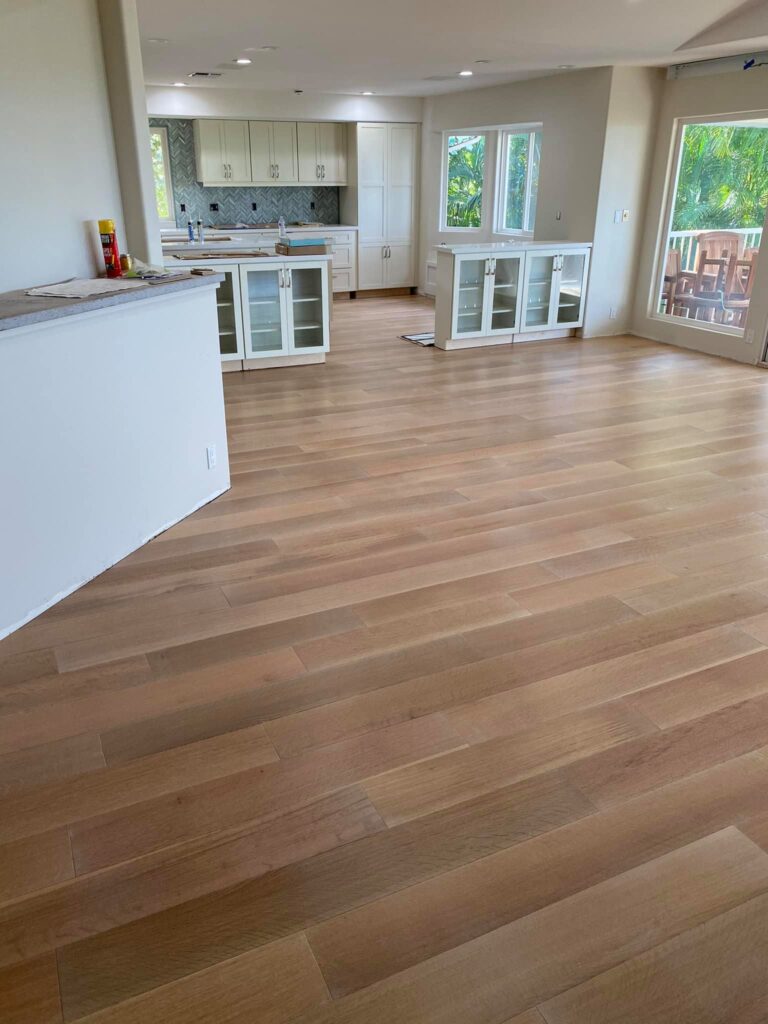
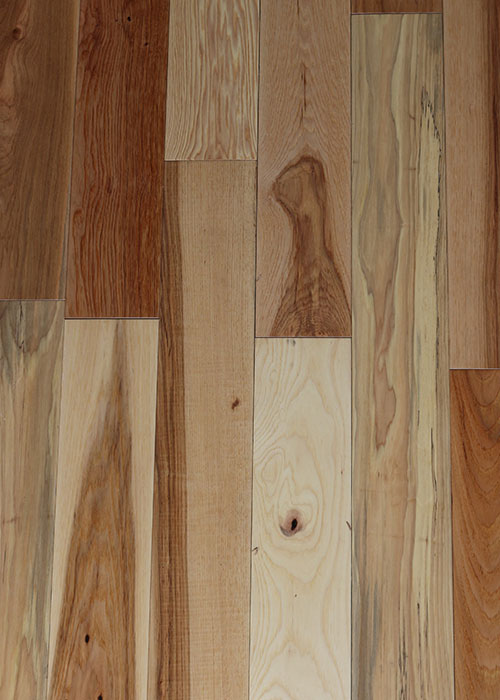
Engineered hardwood flooring is an excellent flooring option that offers a stunning visual appeal. It provides the added advantage of flexibility, making it suitable for installation in areas where traditional solid hardwood flooring may not be appropriate. Whether you prioritize aesthetics or performance, this versatile flooring material delivers both, fulfilling all your flooring needs.
Engineered hardwood flooring is the perfect solution for homes with concrete subfloors or below-ground spaces. Additionally, it can be quickly installed over radiant floor heating systems, providing a comfortable living space. You can opt for a glued installation or floating above the subfloor, depending on your preference. The flooring comes in both unfinished and prefinished variations, ensuring you find an option that perfectly suits your taste and décor.
Our Process
Step: 1
Acclimate the Hardwood
Proper acclimation of hardwood plays a vital role in ensuring that your flooring endures the test of time. Therefore, we are committed to delivering the hardwood flooring to your home a minimum of 2-14 days before the scheduled installation. We will consider environmental factors, including temperature and moisture levels, as well as the width of the flooring and the particular season. It is important to note that the hardwood must be placed inside your home during this period, to enable suitable acclimation. You can be confident that the delivered wood is clean, dry, and occupies a space similar to that of a small couch. This allows for sufficient acclimation, setting the foundation for a successful and long-lasting installation of your hardwood flooring.
Step: 2
Remove the Base Shoe & Measure Trim
To ensure a seamless hardwood installation process, we highly recommend removing any pre-existing base shoe, appliances, and furniture. If your home has had carpeting before, base shoe installation may be necessary to bridge the gap between your hardwood flooring and the base trim. Our team of experienced trim carpenters will handle this process, taking accurate measurements for a precise fit, before the sanding process begins. This approach allows for the natural expansion and contraction of your home, which ultimately enhances the longevity and appearance of your hardwood flooring. As a customer-centric company, we understand the importance of quality workmanship and timely delivery. You can trust us to deliver a result that surpasses your expectations.
Step: 3
Remove Existing Flooring
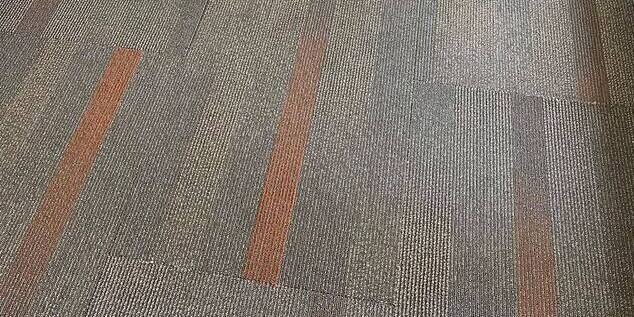
Our next step involves the professional removal of any existing flooring, allowing us to access the original subfloor. This crucial process sets the foundation for installing a ¾" solid hardwood, ensuring a smooth and continuous walking surface throughout your space and providing a seamless and professional finish. By removing the existing flooring, we prevent the new hardwood from raising the height of your current base trim, resulting in a streamlined trim profile throughout your home. To ensure that your surroundings are protected, we will appropriately cover and secure areas with plastic as needed. Please note that although removing existing flooring can generate some mess, our diligent team will take every precaution to minimize disruptions to your home. In the case of carpeted areas, we will remove the carpet, pad, and tack strip to access the original subfloor. For spaces with tile, vinyl, or laminate flooring, our experienced team will carefully remove all layers until we reach the existing subfloor. To prepare the subfloor for hardwood installation, we will sand any uneven areas and apply a layer of 15" roofing felt. This additional layer serves as a barrier, addressing both sound transmission and moisture concerns. As part of our comprehensive service, we will handle the removal and proper disposal of all flooring tear-out materials, ensuring a clean and efficient process. With these essential preparations complete, we are now ready to proceed with the installation phase, ensuring a beautiful and long-lasting finish to your flooring.
Step: 4
Install the Hardwood
Our team of skilled installation professionals takes pride in delivering outstanding results. They are the same experts who conducted the tear-out process of the previous flooring. Our installers approach the installation process with care and precision, ensuring that the hardwood planks are arranged perpendicular to the joists of your home. As part of the installation process, they will also install any flush floor registers with precision. Our team's expertise also extends to joining new and existing hardwood floors in your home, seamlessly blending them together to create a cohesive and harmonious appearance. At each stage, we apply a meticulous approach to achieve the desired results, resulting in a gorgeous and functional space that meets your needs and surpasses your expectations.
Step: 5
Prep for Sanding
Upon conclusion of the hardwood installation, our specialized crew will proceed with the sanding process. Prompt arrival and attention to detail will be provided by our experienced team on the designated sanding day. As an added measure of protection for your home, we will carefully cover doorways and areas not undergoing refinishing with plastic. Our sanding techniques are designed to be dustless, although there may be isolated occurrences where minimal particles may escape into the room. In order to maintain the utmost in safety and security for your space, we implement an extra layer of shielding with plastic coverings.
Step: 6
Sand & Buff
Our team of highly skilled sanders will ensure that your hardwood floor is transformed into a stunning masterpiece. We take pride in carefully following a comprehensive sanding process that will leave your floors looking brand new. The initial step involves using a more aggressive grit sandpaper to remove the old finish and debris from the surface of the floor. Our sanders then use various types of sanding equipment and different sandpapers to achieve a smooth and even finish. We utilize a buffer equipped with an exceptionally fine grit disc to blend any marks left by the sanding machines and remove all scratches, ensuring a perfect final surface. After the thorough sanding process, we meticulously clean the floor to eliminate any remaining debris before proceeding to apply the first coat of finish. To allow the finish to properly set, we recommend that you refrain from occupying your home on the evening after this stage is completed.
Step: 7
Finish Your Hardwood
After the successful completion of sanding and staining process, our team will take the subsequent step, referred to as "back to backs," to further enhance the finish of your floor. Depending on the type of finish you select, we will carefully buff and clean the floor the following day and initiate the application of the second coat of water-borne polyurethane finish. The third and final coat will be applied without any buffing in between, within a span of 2-4 hours after the second coat to ensure maximum layers of finish. After the final coat, it is advisable to wear stocking feet and avoid shoes on the floor for the next six hours for proper curing. In the case of oil-modified polyurethane finish, we utilize a buff and coat procedure on the second day and allow the floor to dry. On the third day, we conduct another buffing process and apply the final coat of finish. This option demands a longer stay outside of your home for up to three nights to ensure the proper drying and curing of the finish. We also offer alternative burnished and waxed finishes for you to consider.
About us
Specializing in the installation, sanding and refinishing of hardwood, engineered, and luxury vinyl planks
Copyright © Ohana Wood Flooring 2024. All Right Reserved.